Why DIY Blinds Installation Makes Perfect Sense
Let’s be honest, professional blind installation can be expensive. For many, the cost doesn’t justify the service, especially considering the potential savings of a DIY approach. This has led to a rise in homeowners tackling blinds installation themselves, giving them more control over their home improvement projects. This trend offers both financial benefits and personal satisfaction but at XL Security & Blinds we re alwaya here to provide professional installtion services of you blinds.
To help you weigh your options, let’s compare professional and DIY installation:
Professional vs. DIY Installation Comparison
Cost and benefit comparison between hiring professionals and installing blinds yourself
| Factor | Professional Installation | DIY Installation |
|---|---|---|
| Cost | $30-$100 per window | Cost of materials only |
| Time | Requires scheduling and waiting | 1-2 hours per window for beginners |
| Expertise | Ensured proper installation | Requires learning and some skill |
| Tools | Professionals provide all tools | May need to purchase or borrow tools |
| Warranty | Often includes a warranty | Dependent on the blind manufacturer |
| Satisfaction | Hassle-free experience | Sense of accomplishment |
This table highlights the key differences. While professional installation offers convenience and a warranty, DIY installation provides significant cost savings and a sense of personal achievement.
The Rewards of Taking the Reins
Beyond the financial perks, completing a DIY blinds installation offers a unique sense of accomplishment. Transforming your living space with your own hands is incredibly rewarding. This feeling goes beyond just finishing the task; it builds confidence for future home improvement projects. This newfound empowerment can lead to substantial long-term savings and a deeper appreciation for your home.
Accessibility Through Online Retailers
Online blind retailers have made premium, custom blinds more accessible. By selling directly to consumers, these retailers cut out the middleman and offer high-quality products at a fraction of the price. This allows homeowners to choose from a wider selection of styles and materials without overspending. The convenience of online ordering and competitive pricing make DIY blinds installation even more appealing.
Addressing Common Concerns and Timelines
Some homeowners hesitate to try DIY blinds installation because they think it’s too complicated. However, with the wealth of available resources, including detailed guides and video tutorials, many find the process surprisingly simple. While some concerns, like getting precise measurements, are valid, others are often exaggerated.
A typical window might take a first-time installer 1-2 hours. With practice, this time can be significantly reduced. This relatively quick turnaround, compared to scheduling and waiting for a professional, highlights the efficiency of the DIY approach. While challenges may arise, the benefits – financial savings, personal satisfaction, and increased home value – make DIY blinds installation a worthwhile project for many.
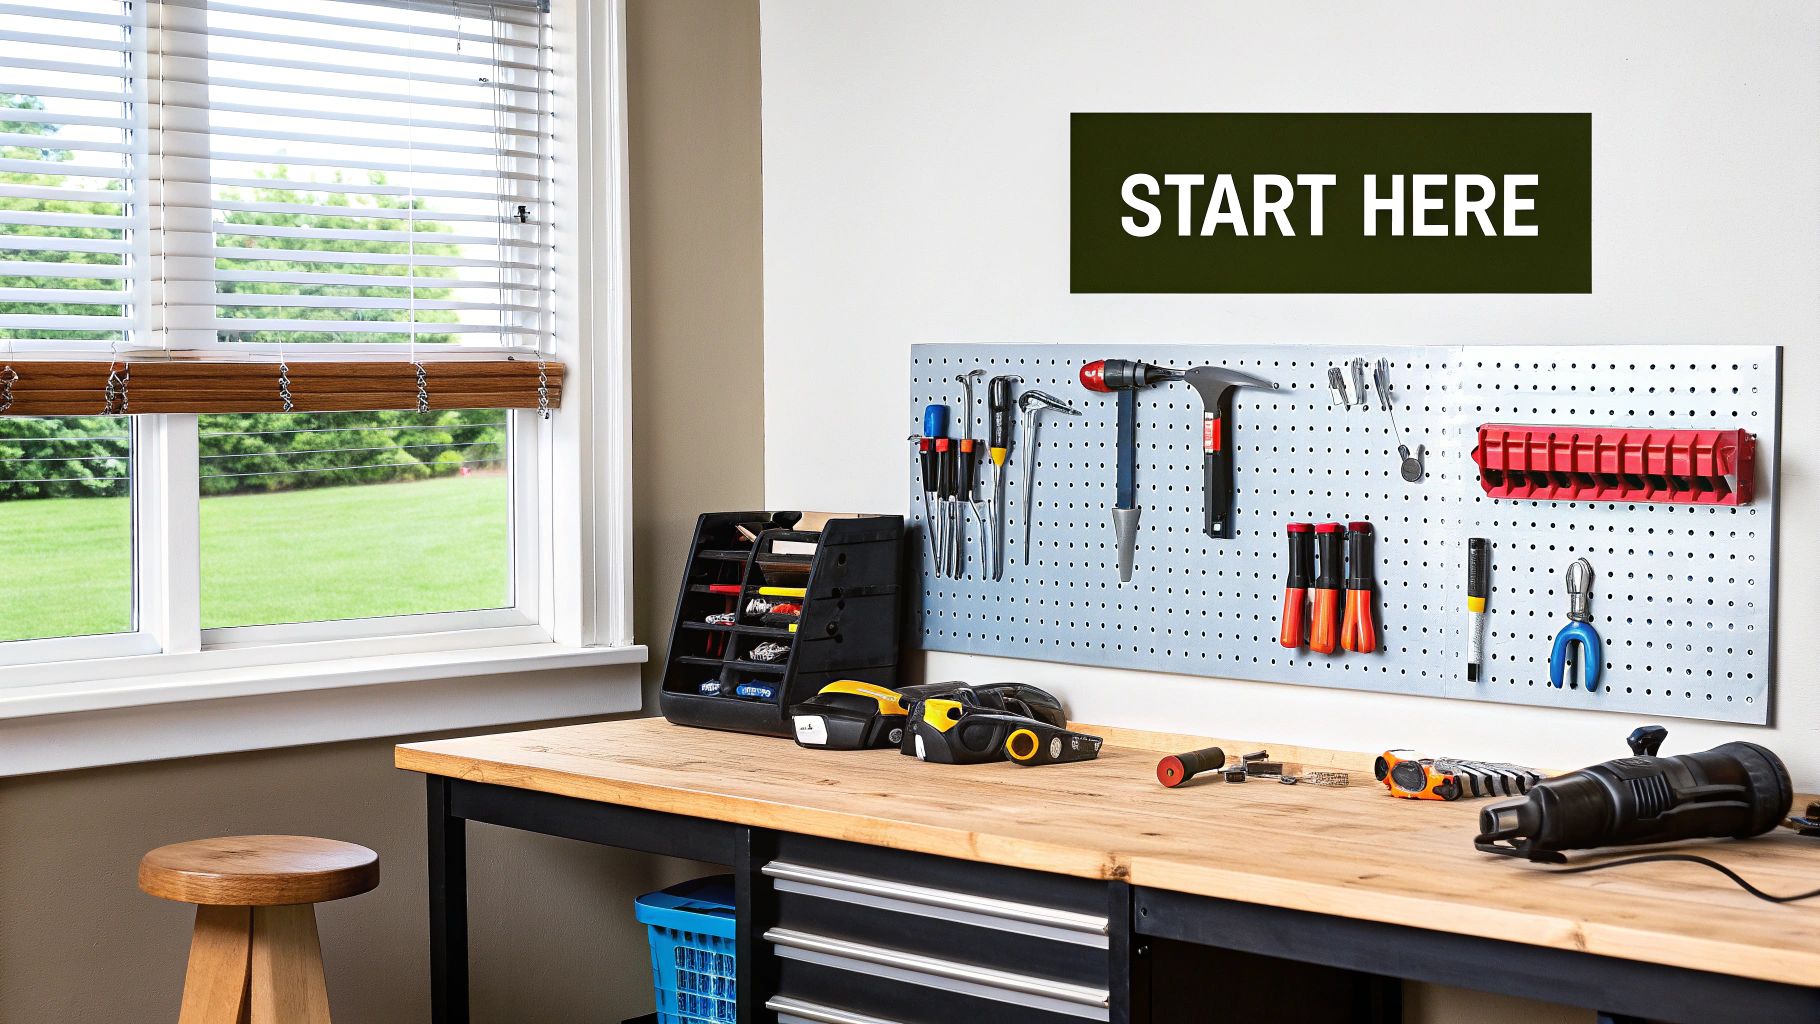
Essential Tools That Make or Break Your DIY Blinds Installation
Proper preparation is essential for any DIY project, and blinds installation is no exception. Gathering the necessary tools beforehand will not only save you frustrating trips to the hardware store mid-project but also ensure a smooth and efficient installation process. Just like a chef needs the right knives, having the correct tools for blinds installation is key to achieving a professional-looking result.
Must-Have Tools for a Seamless Installation
Certain tools are absolutely indispensable for a DIY blinds installation. These include a metal tape measure for precise measurements, a level to ensure your blinds hang perfectly straight, a power drill with the correct drill bits for your wall type, and a screwdriver to secure brackets and other hardware. These tools form the foundation of any successful installation.
Having the appropriate fasteners for your specific wall type (drywall, plaster, wood, etc.) is also critical. Using the wrong fasteners can compromise the security and longevity of your blinds. A pencil is also necessary for marking measurements and bracket placements accurately. Finally, a sturdy step stool or ladder is crucial for safely reaching higher windows.
Specialized Tools and Their Substitutes
While professional installers may use specialized tools, readily available substitutes exist for DIY enthusiasts. A laser level offers increased precision, but a standard level combined with careful attention to detail works perfectly fine. This means investing in expensive, specialized equipment isn’t always necessary for a successful DIY project.
Similarly, tin snips are helpful for trimming blinds, but a sharp utility knife often achieves the same result. Knowing these substitutes can save you money without sacrificing the quality of your installation.
The Role of Each Tool in Precision Installation
Each tool contributes significantly to ensuring a precise and professional-looking final product. The tape measure is the foundation, guaranteeing accurate measurements to prevent ordering the wrong size blinds. The level ensures your blinds hang straight, avoiding a crooked and unprofessional appearance.
The drill enables you to create secure anchor points for your brackets, promoting a long-lasting installation. The screwdriver firmly attaches all components, minimizing the risk of loosening over time. For example, DIY Blinds, a Melbourne-based company, has made a significant impact on the blinds industry since 2015. They offer premium, Australian-made blinds online, simplifying the process and making DIY installation more accessible. Learn more about their influence and investment success: DIY Blinds Investment. Ultimately, using the correct tools and understanding their function is vital for a professional and functional outcome, transforming your windows and enhancing your home’s aesthetic appeal.
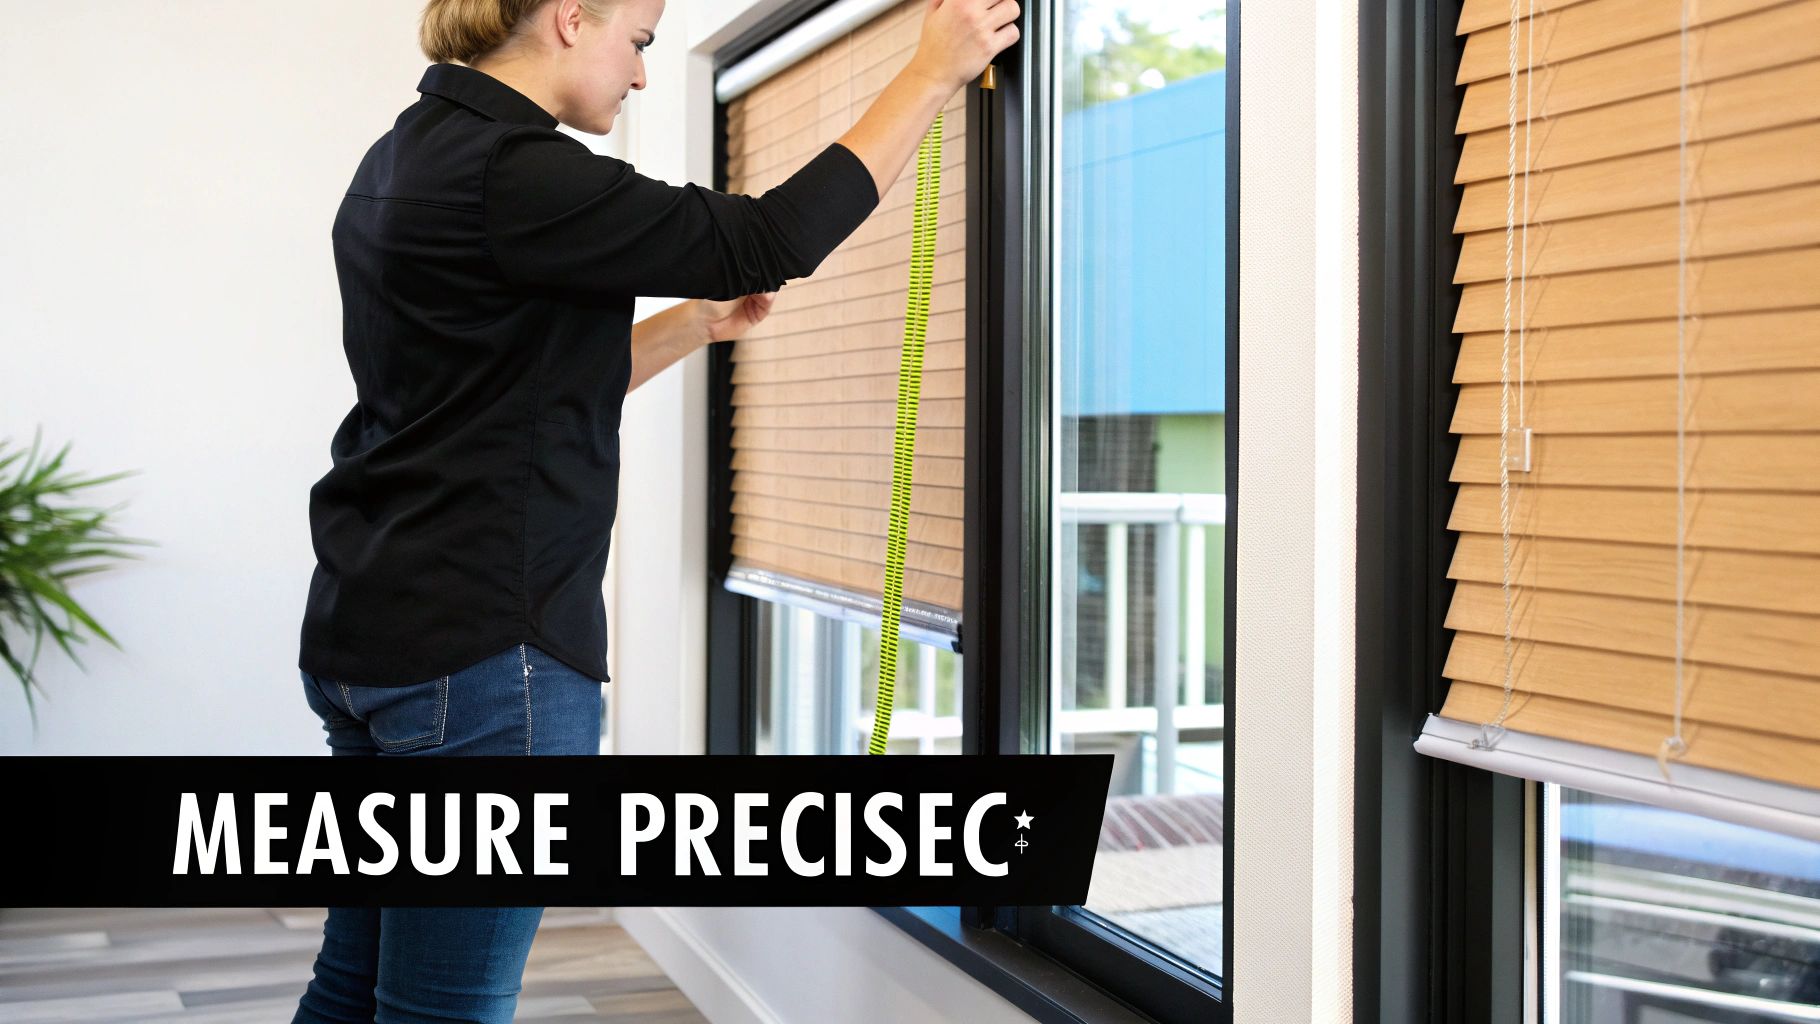
Measuring Magic: Getting Numbers That Actually Work
Accurate measurements are essential for a successful DIY blinds installation. In fact, they’re the most important factor. Even a tiny difference of a few millimeters can mean the difference between a perfect fit and a frustrating, expensive mistake. This section will give you the knowledge and techniques to measure like an expert.
Why Every Window Is Unique (Even if They Look Identical)
You might assume identical-looking windows in your home are the same size. However, small variations in construction and settling can result in significant size differences. Professional installers understand this and always measure each window individually. This guarantees a perfect fit every time, eliminating guesswork and errors.
Factoring in Mounting Hardware and Mechanisms
Your measurements need to consider more than just the window opening. The type of mounting hardware (inside mount or outside mount) and the blinds’ operating mechanisms affect the final dimensions. Overlooking these factors can lead to blinds that are too big or too small, impacting both how they work and how they look. For instance, inside mount blinds require precise measurements to ensure a snug fit within the window frame.
The growth of online platforms has significantly impacted the window furnishing industry. Since launching its website in 2019, DIY Blinds has seen its turnover grow from $8 million to over $15 million. This success is attributed to its streamlined online experience, allowing customers to design and order custom blinds directly.
Inside vs. Outside Mount: Choosing the Right Approach
Knowing the difference between inside and outside mounts is critical for accurate measurement. Inside mount blinds fit within the window frame, offering a clean, minimalist appearance. This mount type works best for windows deep enough to accommodate the blinds’ hardware. Outside mount blinds are installed on the wall outside the window frame. This option suits windows with shallow frames or when you want to create a wider look.
Mastering the Art of Measurement: A Step-by-Step Guide
- Inside Mount: Measure the width at the top, middle, and bottom of the window frame. Use the narrowest measurement. Repeat for the height.
- Outside Mount: Measure the total width you want the blinds to cover, extending beyond the window frame on each side. Add at least 2 inches to each side for sufficient coverage. Measure the height from where you want the blinds to hang to where you want them to end.
Tackling Tricky Window Shapes
Not every window is a perfect rectangle. Bay windows, arched windows, and windows with obstructions present unique measurement challenges. For bay windows, treat each section as a separate window and measure individually. For arched windows, consider flexible or custom-shaped blinds. With obstructions like window cranks, measure carefully around them to ensure proper clearance. These specific measurements are key to a successful DIY blinds installation, simplifying a potentially complex project.
The Step-by-Step DIY Blinds Installation Playbook

Careful planning is the key to a successful DIY blinds installation. Instead of generic advice, this playbook breaks down the process into clear, actionable steps for each major blind type. You’ll gain the confidence to tackle everything from bracket placement and headrail mounting to mechanism attachment.
Understanding The Common Challenges
Many DIY blinds installations run into preventable problems. This playbook addresses those challenges directly. For example, you’ll learn how to drill into different surfaces like drywall, tile, and concrete, using the right techniques and hardware. We’ll also cover how to fix those frustrating moments when brackets don’t align, a common issue for beginners.
Specific Techniques For Each Blind Type
Different blinds require different installation methods. Installing roller blinds is not the same as installing venetian, roman, cellular, or vertical blinds. This playbook provides specific techniques and tips for each type, ensuring a smooth operation and a professional look. For instance, roller blinds typically involve securing the brackets and then snapping the headrail into place. Venetian blinds, on the other hand, may require additional steps for adjusting the tilt mechanism.
Achieving A Professional Finish: The Small Adjustments That Matter
Professional installers often use small, subtle adjustments that significantly improve the final result. These adjustments can transform a shaky installation into secure, flawlessly functioning window coverings. This playbook reveals these secrets, helping you achieve a clean, polished look. This might include techniques for perfectly aligning the blinds with the window frame or ensuring the smooth operation of the lift mechanism.
To give you a better idea of the time and complexity involved with different blind types, take a look at the table below:
Installation Times by Blind Type
Average installation time requirements for different blind styles
| Blind Type | Average Installation Time | Difficulty Level | Special Tools Needed |
|---|---|---|---|
| Roller Blinds | 30-45 minutes | Beginner | Screwdriver, Level |
| Venetian Blinds | 45-60 minutes | Intermediate | Screwdriver, Level, Measuring Tape |
| Roman Blinds | 60-75 minutes | Intermediate | Screwdriver, Level, Measuring Tape, Drill |
| Cellular Blinds | 45-60 minutes | Intermediate | Screwdriver, Level, Measuring Tape |
| Vertical Blinds | 60-90 minutes | Advanced | Screwdriver, Level, Measuring Tape, Drill |
As you can see, roller blinds are generally the quickest and easiest to install, while vertical blinds often require more time and expertise. Remember these are average times, and your actual installation time may vary.
General Installation Steps (Adaptable For Specific Blind Types)
While each blind type has unique requirements, some general steps apply to most installations. These steps provide a solid framework for your project:
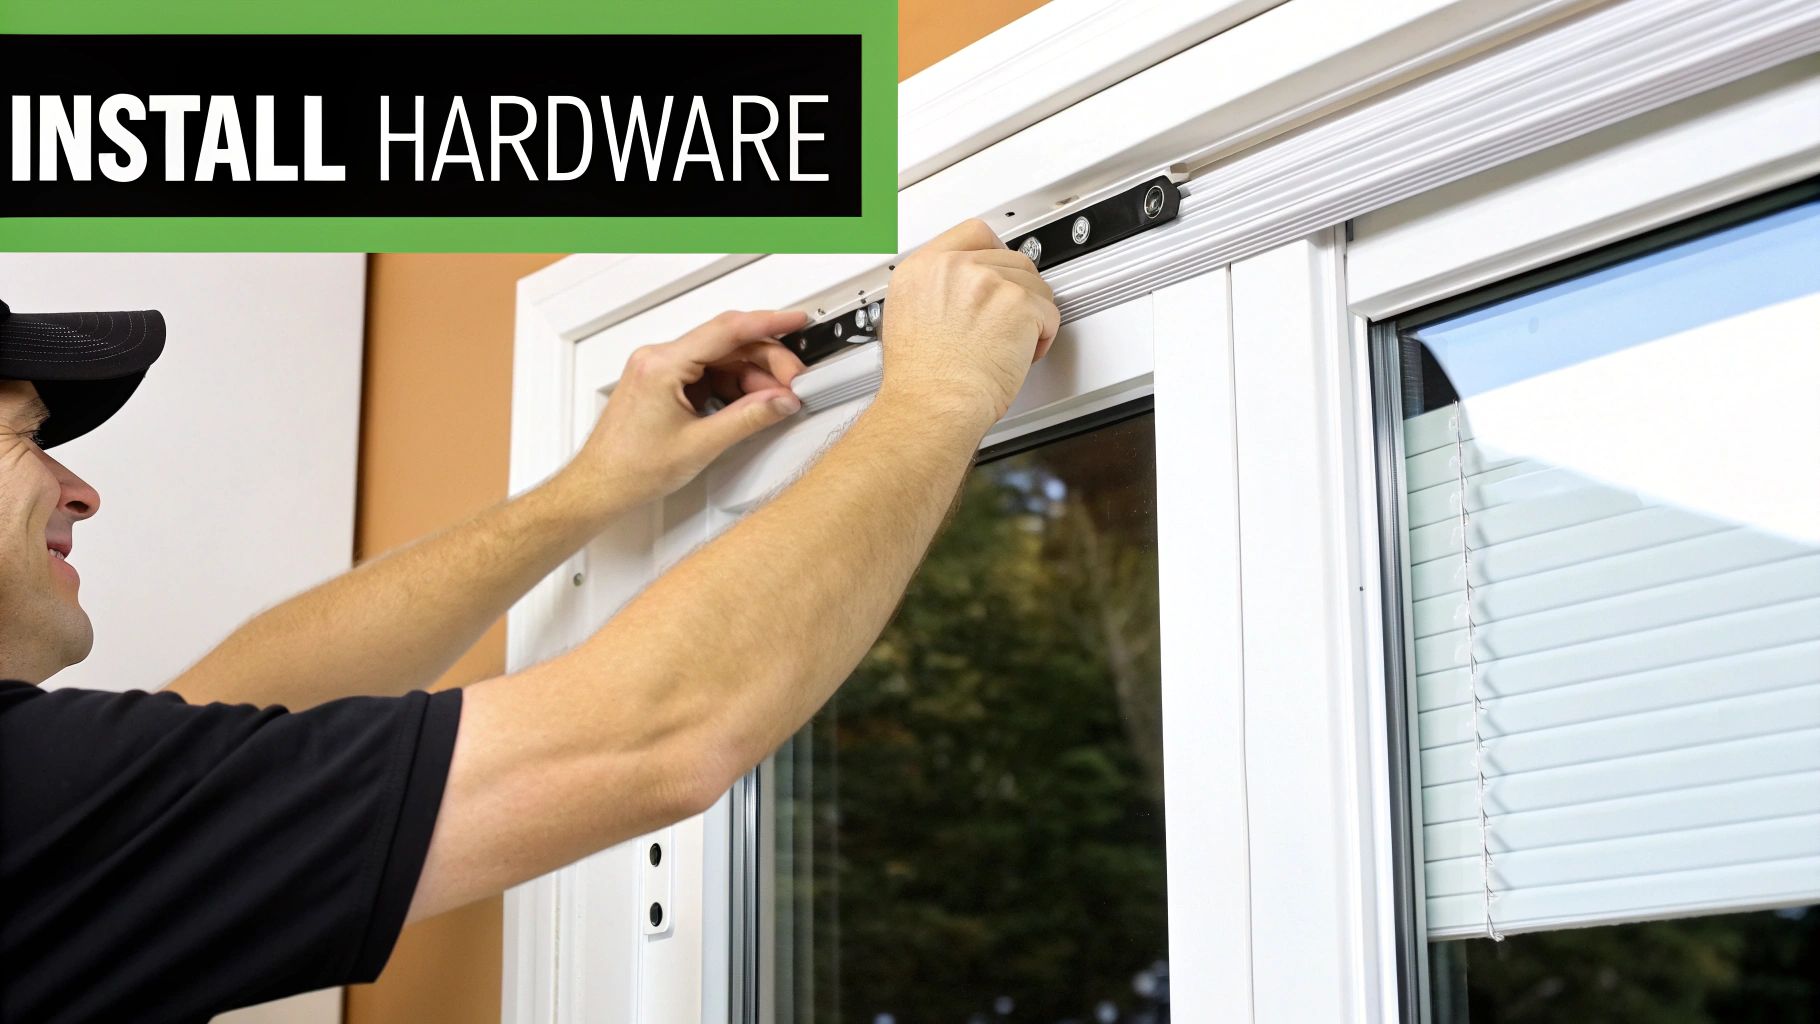
- Prepare the Window: Clean the window frame and surrounding area. This ensures a clean surface for the brackets.
- Mark Bracket Locations: Carefully measure and mark where your brackets will go. A level is essential for a straight installation. Accurate bracket placement is crucial for even blinds.
- Install the Brackets: Use the correct screws or fasteners for your wall type. Securely attach the brackets, making sure they are flush with the wall or window frame. Wall anchors can add stability for heavier blinds.
- Attach the Headrail: This step depends on the blind type. Some blinds snap into the brackets, while others might require screws or other hardware.
- Test the Mechanism: After attaching the headrail, test the lift and tilt mechanisms to ensure smooth operation. Adjust if needed.
- Install Additional Hardware (if needed): Some blinds might require additional hardware, such as child safety devices or hold-down brackets.
This structured approach, combined with type-specific guidance, makes DIY blinds installation a manageable and rewarding project for any homeowner.
Troubleshooting Like a Pro When Things Go Sideways
Even with meticulous planning, DIY blinds installation can come with unforeseen hiccups. Knowing how to troubleshoot common problems can save you time and frustration. This section covers frequent issues and provides practical solutions to get your installation back on track.
Diagnosing Common Installation Issues
One frequent problem is uneven hanging. This often stems from inaccurate measurements or uneven bracket placement. If one bracket sits higher than the other, the blinds will tilt. Another common issue is difficult operation, where the blinds resist raising or lowering smoothly. This could be due to a jammed mechanism or incorrect installation of the operating components. Misaligned blinds, where the slats don’t close correctly, can originate from problems with the headrail or the tilt mechanism. Lastly, problems with the hardware itself, such as loose screws or brackets, can compromise the stability and operation of your blinds.
Step-by-Step Remedies for Common Problems
- Uneven Hanging: Begin by double-checking your measurements and bracket placement. Use a level to ensure perfect bracket alignment. Reposition them if necessary. If your measurements are accurate, the issue might be with the window itself. Windows can sometimes be slightly out of square. In such cases, use small shims behind the brackets to fine-tune the alignment.
- Difficult Operation: If your blinds are difficult to operate, check the mechanism for obstructions. Dust or debris can sometimes interfere. If the mechanism is clear, the problem may lie with the installation itself. Refer to the manufacturer’s instructions to confirm all components are correctly installed and aligned.
- Misalignment: If the slats don’t close as they should, the headrail or tilt mechanism could be the culprit. Inspect for loose connections or misaligned parts. Tighten any loose screws and ensure the headrail is firmly attached to the brackets. If the tilt mechanism seems to be the issue, consult the manufacturer’s instructions for adjustment procedures.
- Hardware Issues: Loose screws or brackets can jeopardize the entire installation. Tighten all screws and replace any damaged hardware. Using high-quality fasteners from the outset can prevent this issue.
When to DIY and When to Call for Help
While many installation problems have straightforward DIY solutions, it’s important to recognize when professional help is warranted. If troubleshooting steps prove unsuccessful, or if you’re working with a complex window shape or unusual mounting situation, seeking professional assistance might be the most efficient approach. Professionals possess the experience and specialized tools to manage challenging installations.
Real-World Examples of Troubleshooting Success
Sometimes, seemingly major installation problems have simple solutions. One homeowner struggled with unevenly hanging blinds, only to discover the issue was a single loose screw in a bracket. Tightening the screw immediately rectified the problem. In another instance, blinds that wouldn’t close properly had a small piece of debris lodged in the tilt mechanism. Removing the debris restored full functionality. These examples underscore the importance of thorough troubleshooting before considering more drastic measures. A minor fix, like shimming or tightening a screw, can often make all the difference. XL Security & Blinds, with their 50 years of experience on the Gold Coast, offer professional installation and troubleshooting for a variety of blinds and security screens, making them a reliable choice for those seeking assistance or simply preferring expert service.
Maintaining Your DIY Blinds for Years of Perfect Function
Your successful DIY blinds installation is just the beginning. Proper maintenance transforms your window treatments from a one-time project into a lasting home improvement. With a little care, your blinds will continue to look and function beautifully for years to come.
Material-Specific Care Routines
Different blind materials require different cleaning methods. For example, wood blinds benefit from regular dusting with a soft cloth or a vacuum cleaner with a brush attachment. Avoid using water or harsh cleaning solutions, which can damage the wood finish. Faux wood blinds, however, are more moisture-resistant and can be wiped with a damp cloth.
Fabric blinds, like cellular or roman shades, can be vacuumed with a brush attachment or gently cleaned with a damp sponge and mild detergent. Test any cleaning solution on an inconspicuous area first to ensure it doesn’t cause discoloration or damage. Aluminum or vinyl blinds are durable and easy to clean with a damp cloth or a solution of mild soap and water.
Cleaning Products to Avoid (and Unexpected Household Items That Work Perfectly)
Surprisingly, some common cleaning products can damage your blinds. Ammonia-based cleaners, for instance, can discolor or streak vinyl blinds. Abrasive cleaners can scratch delicate surfaces. Instead, consider using a simple solution of warm water and mild dish soap, which effectively cleans most blind types without causing damage.
For dusting, a microfiber cloth or a sock turned inside out works wonders. For stubborn dirt on vinyl or aluminum blinds, a mixture of equal parts water and white vinegar can be a powerful yet gentle cleaning agent.
Seasonal Maintenance Checklists and Early Warning Signs of Wear
Just like your car benefits from regular checkups, your blinds also need periodic maintenance. Implement a seasonal maintenance routine to catch small issues before they become major problems. This might include checking for loose screws, cleaning the headrail and valance, and lubricating any moving parts.
Be on the lookout for early warning signs of wear, such as frayed cords, bent slats, or difficulty raising or lowering the blinds. Addressing these issues promptly can prevent more extensive damage and prolong the life of your blinds. A frayed cord, for example, can be replaced before it breaks completely, saving you the hassle and expense of repairing the entire lift mechanism.
Troubleshooting Motorized Blinds
Motorized blinds offer convenience, but they can also present unique challenges. Battery issues are a common culprit. Ensure you’re using the correct battery type and that they’re properly installed. Programming problems can sometimes occur, particularly after a power outage. Consult your user manual for instructions on how to reprogram the remote or the blinds themselves. Connectivity issues, especially with smart home integrated blinds, can arise from problems with your Wi-Fi network. Check your router and ensure the blinds are within range of the signal.
Minor Repairs and Adjustments for Extended Lifespan
Many minor repairs and adjustments can be performed without specialized tools or professional expertise. Tightening loose screws, for instance, can stabilize the blinds and prevent further damage. Replacing a frayed cord is a relatively simple task that can significantly extend the life of your blinds. Adjusting the tilt mechanism can improve the functionality and appearance of venetian blinds.
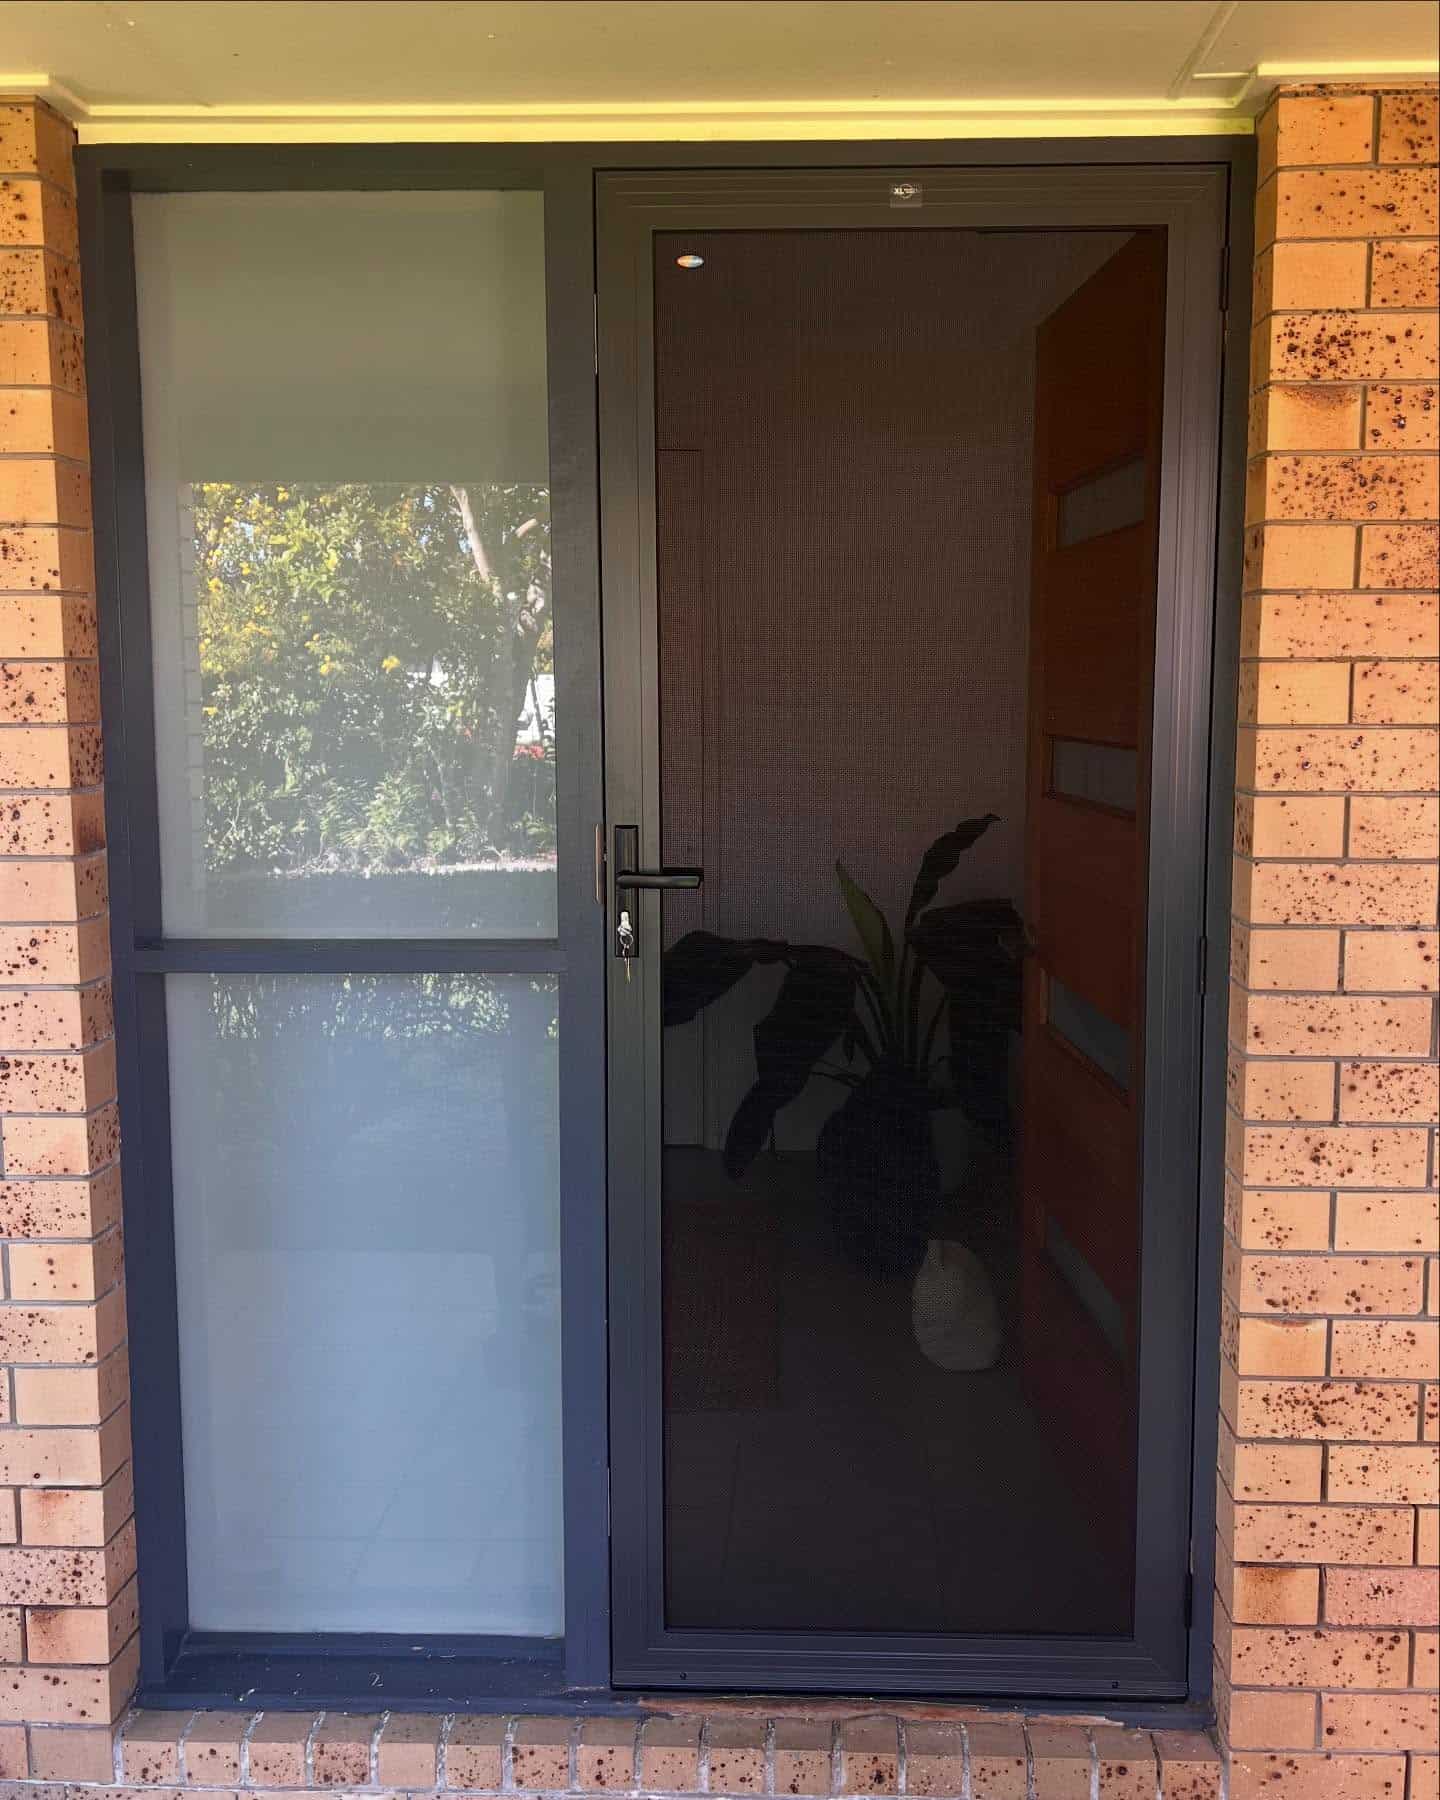
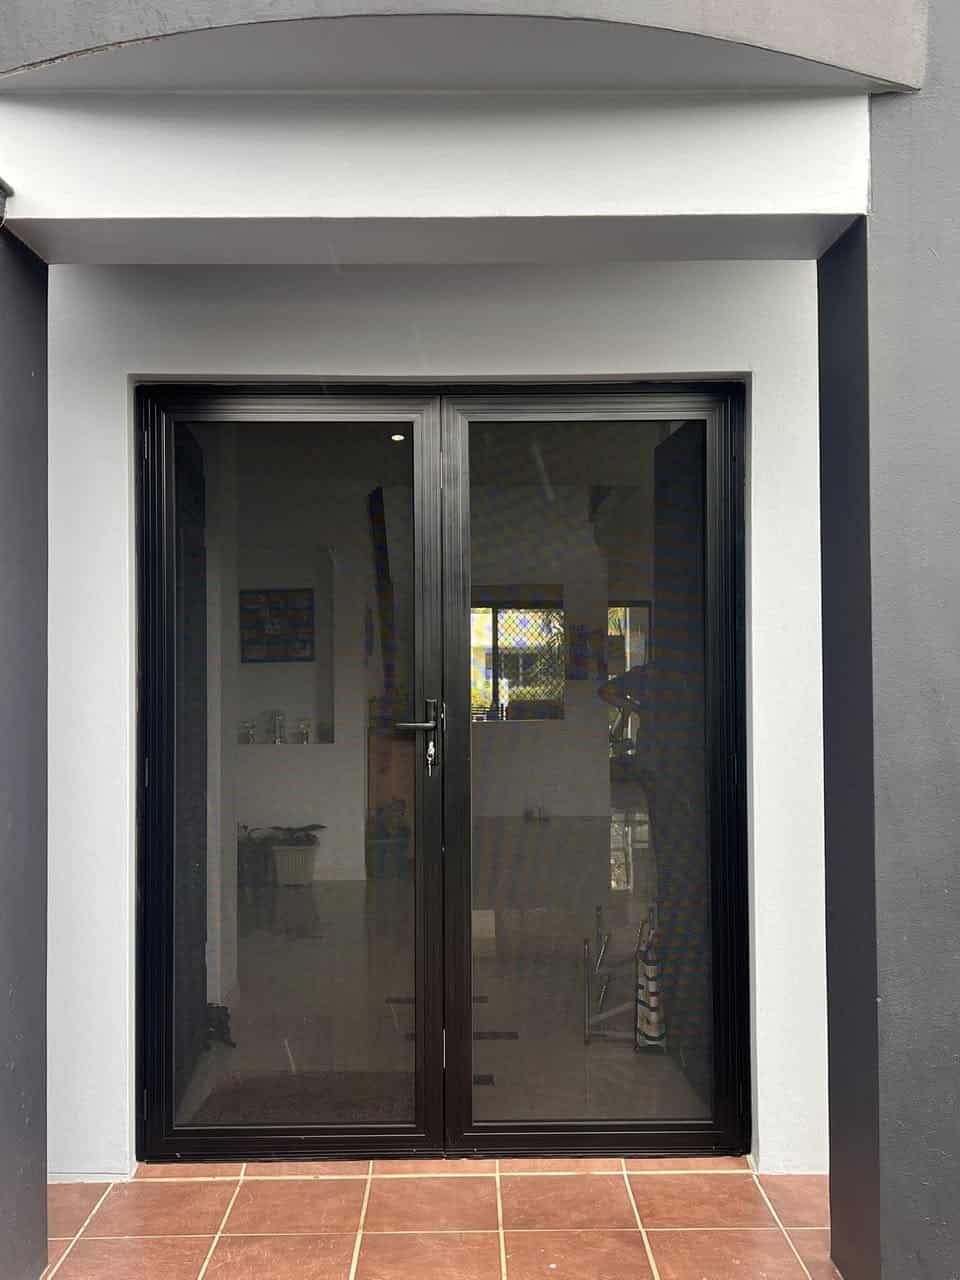
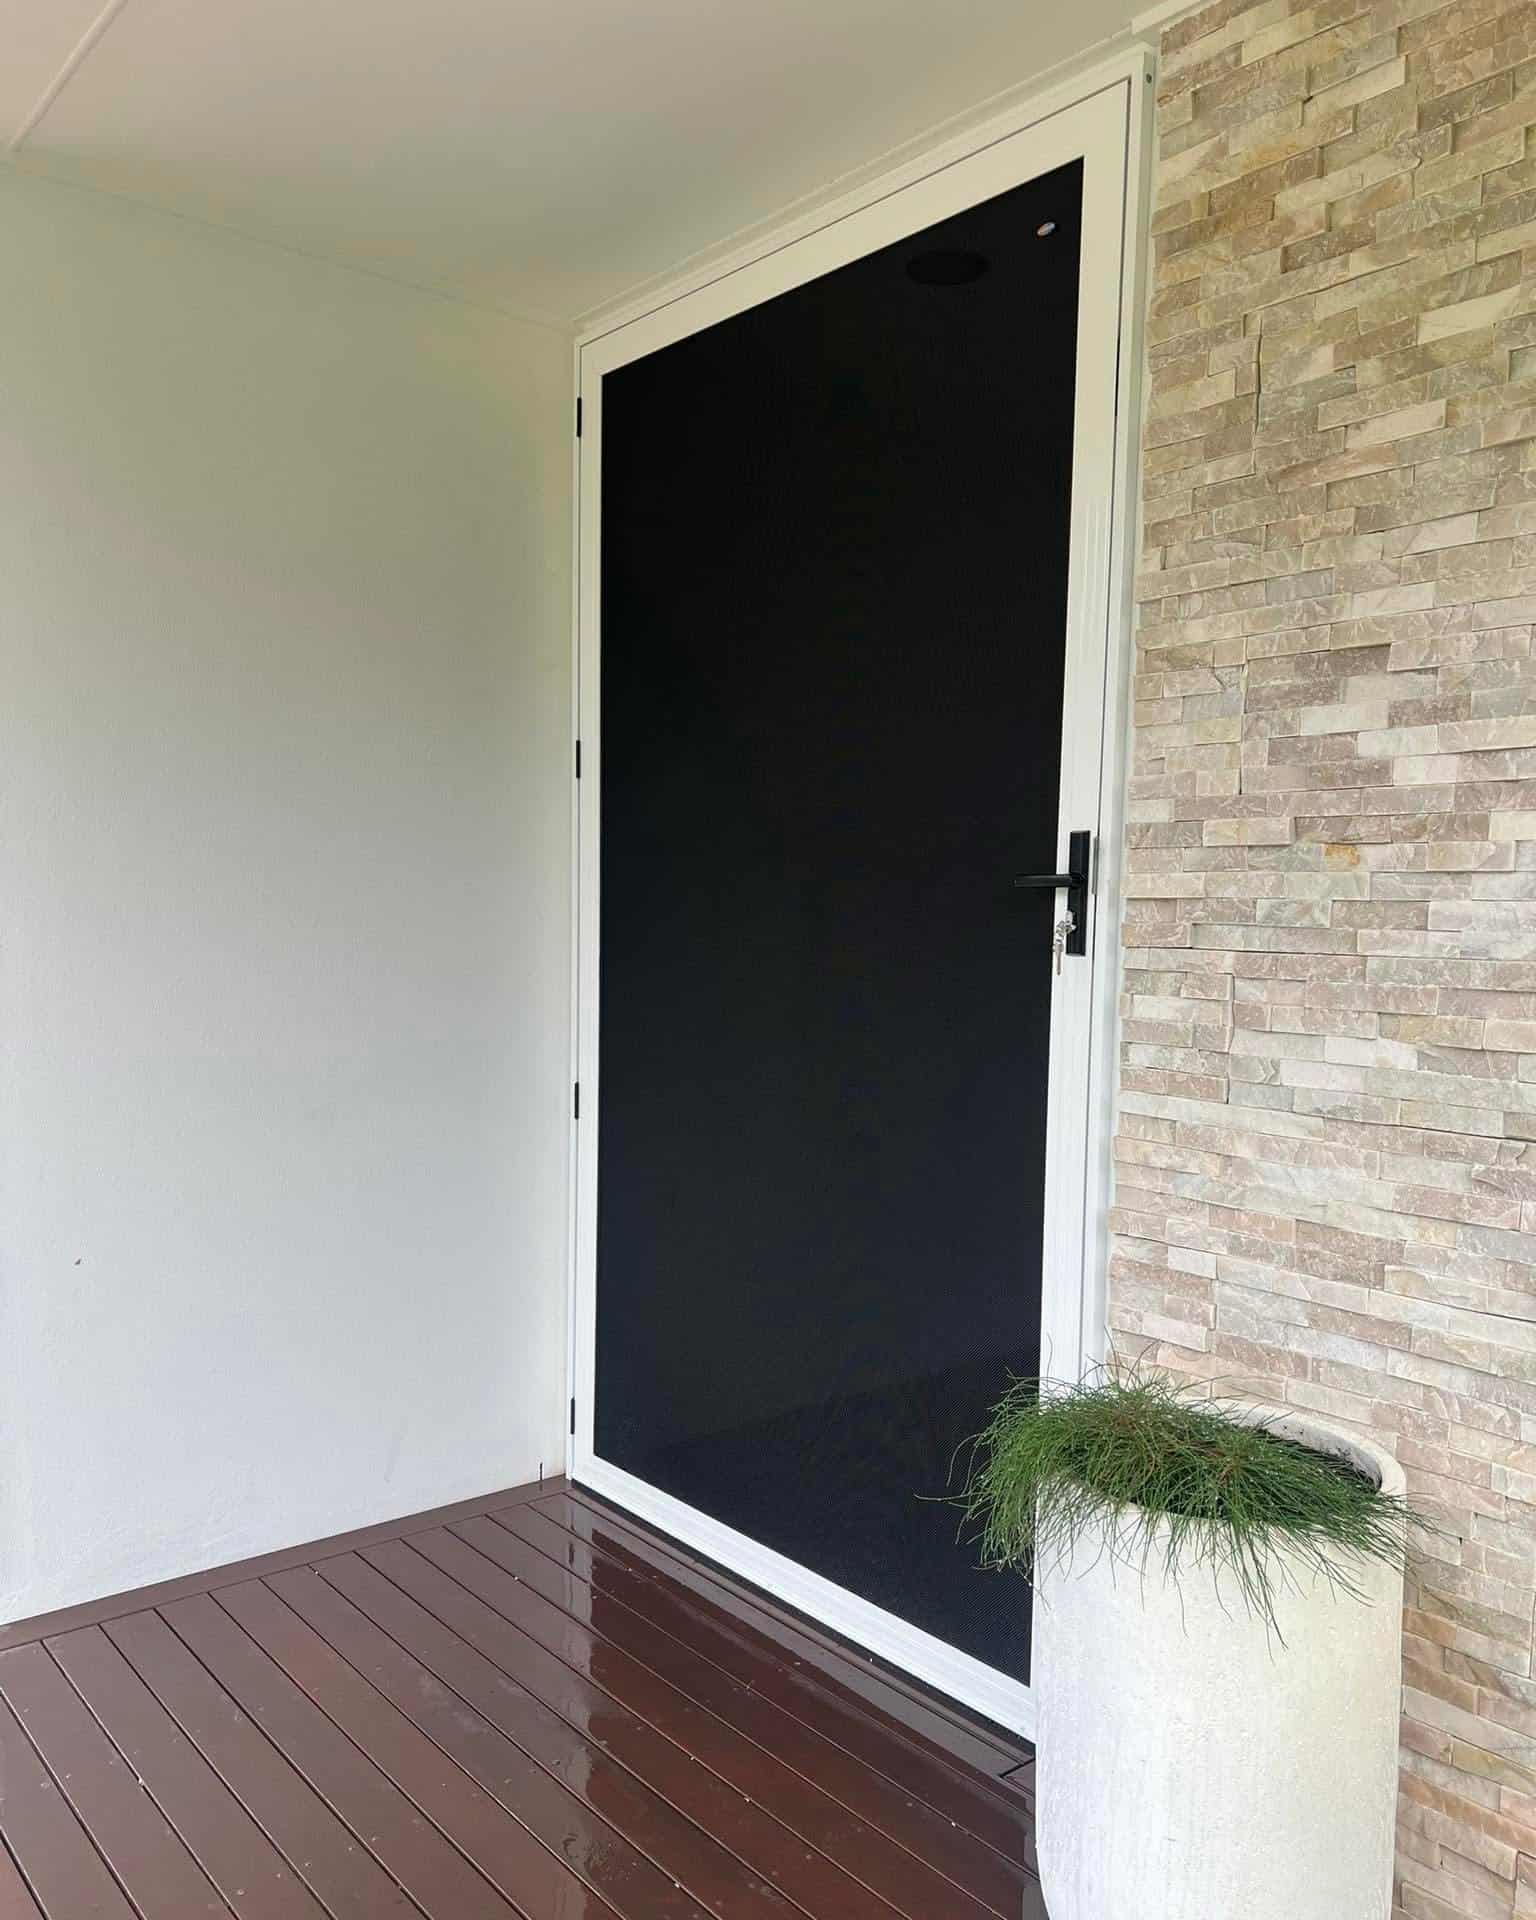
Ready to elevate your home security and style on the Gold Coast? XL Security & Blinds offers installation and a comprehensive range of custom-made security screens, doors, and blinds, tailored to your specific needs. With over 50 years of experience, they provide expert installation and exceptional service, ensuring lasting quality and peace of mind. Contact XL Security & Blinds today for a free consultation and discover how they can transform your property.